


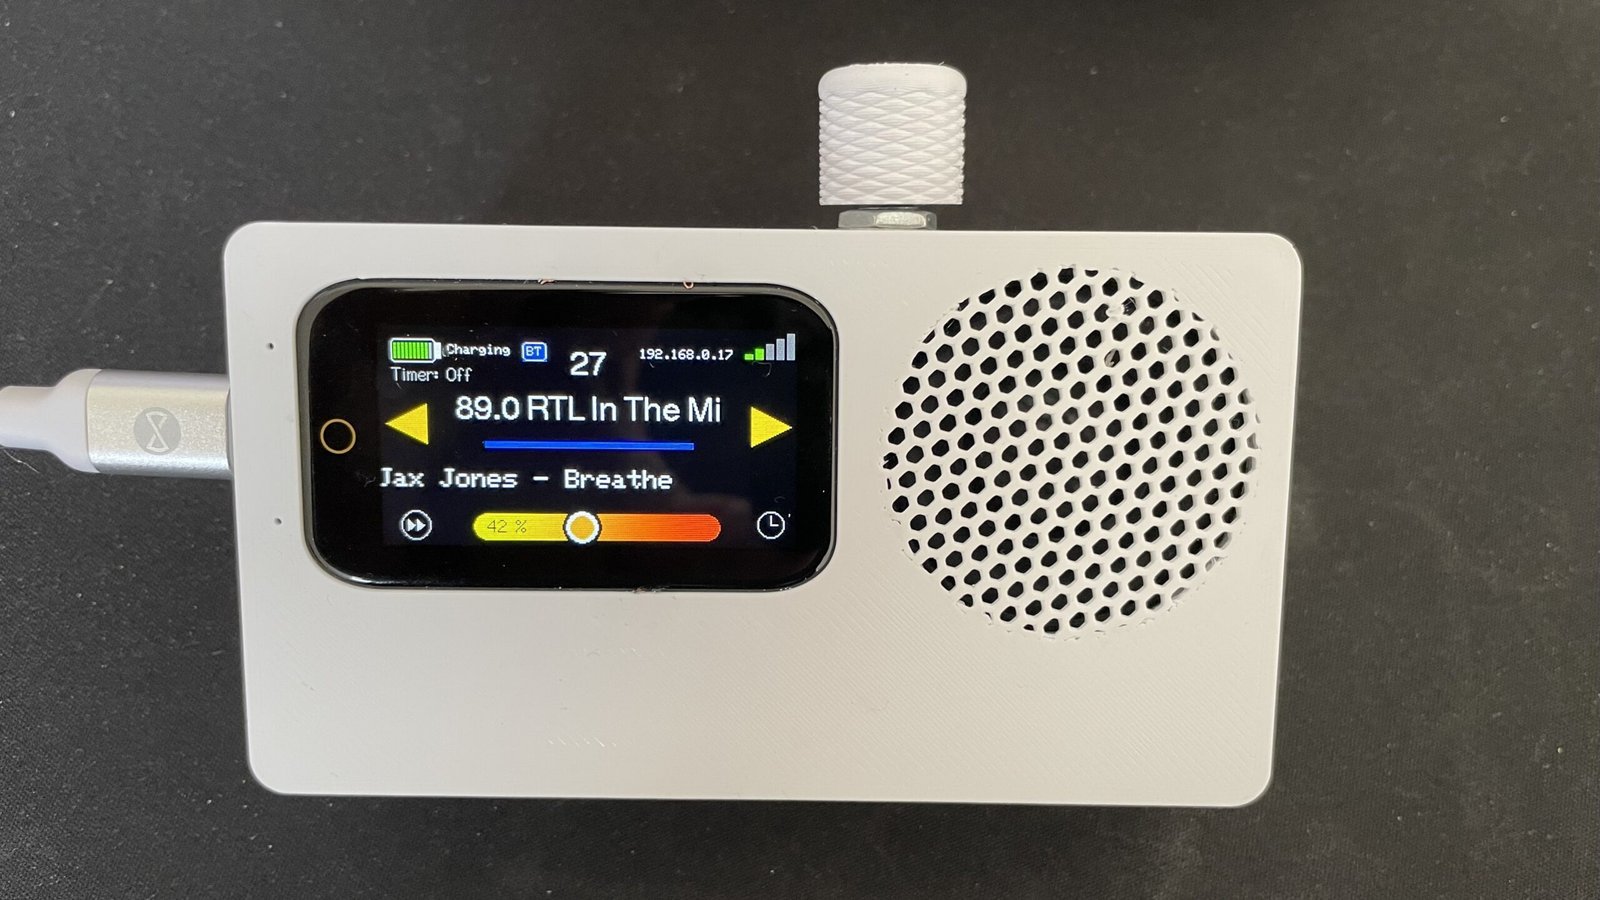


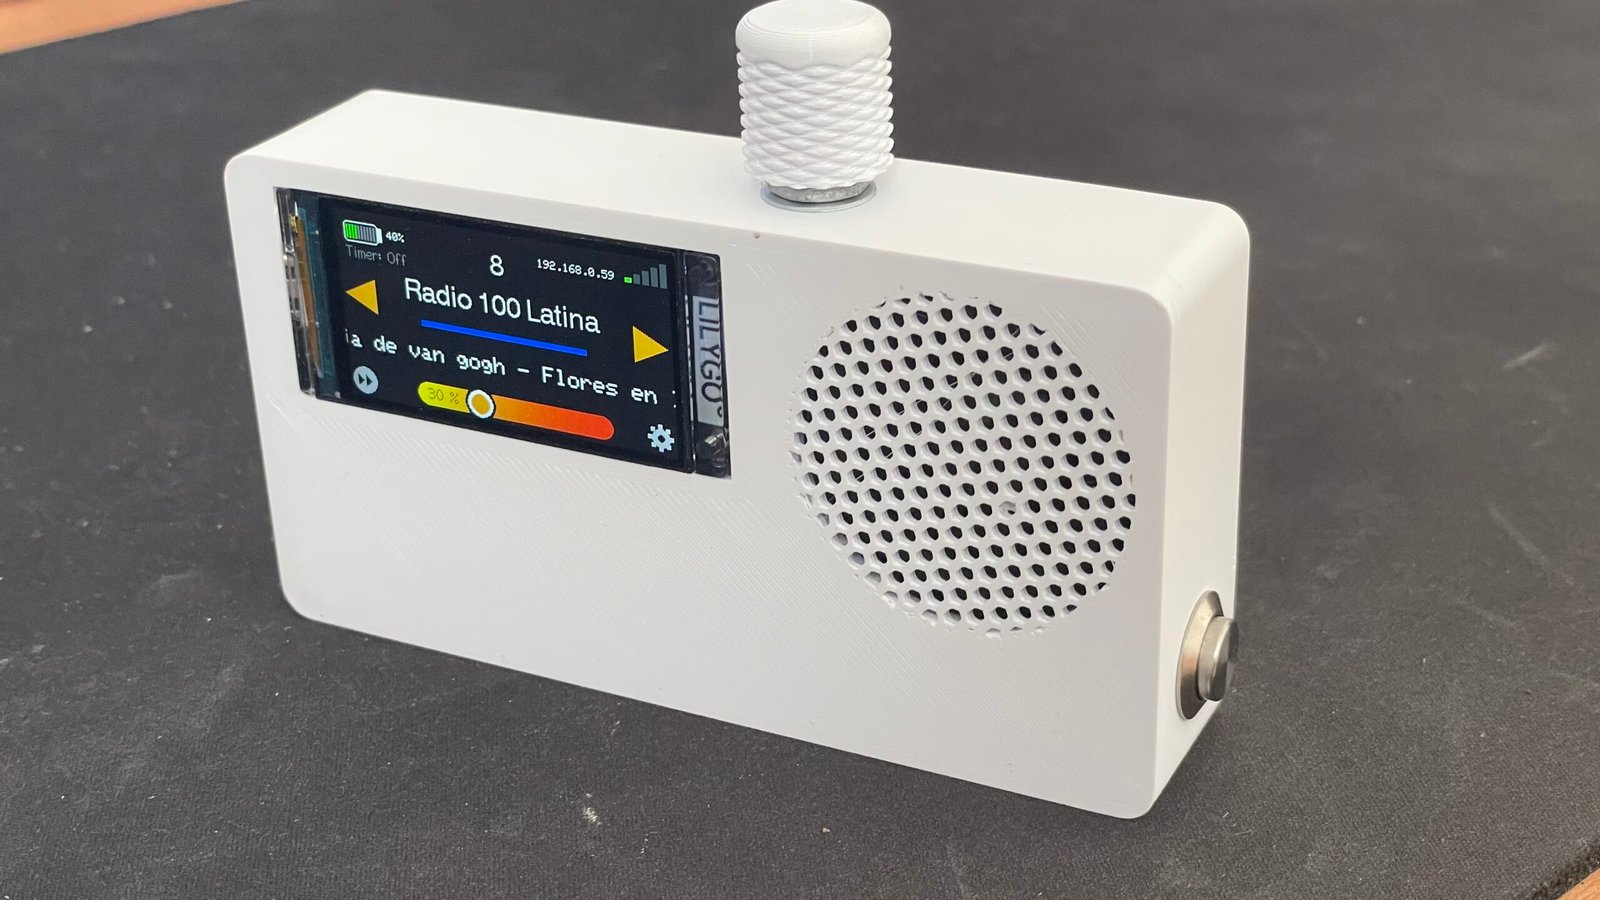
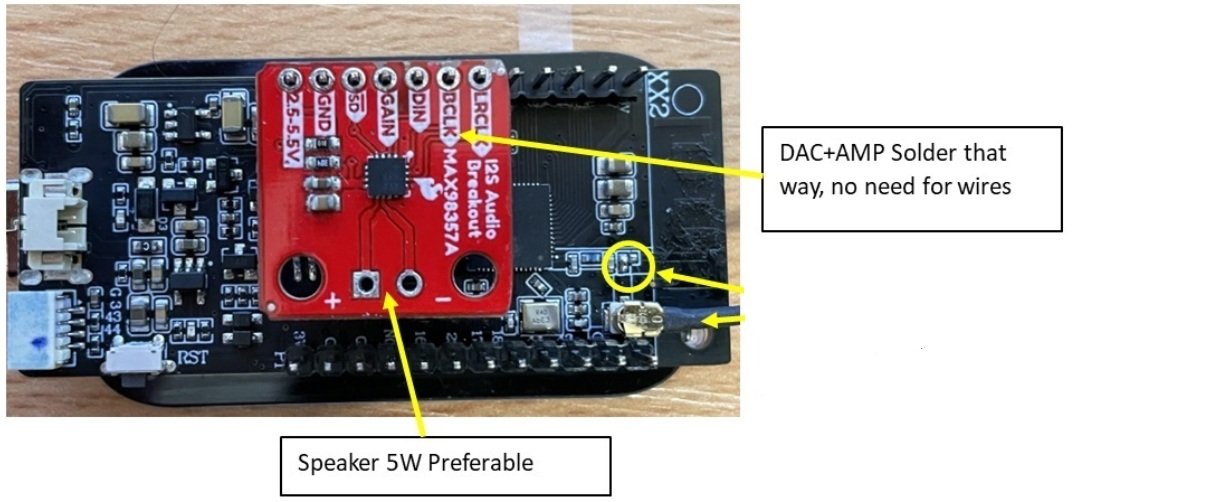
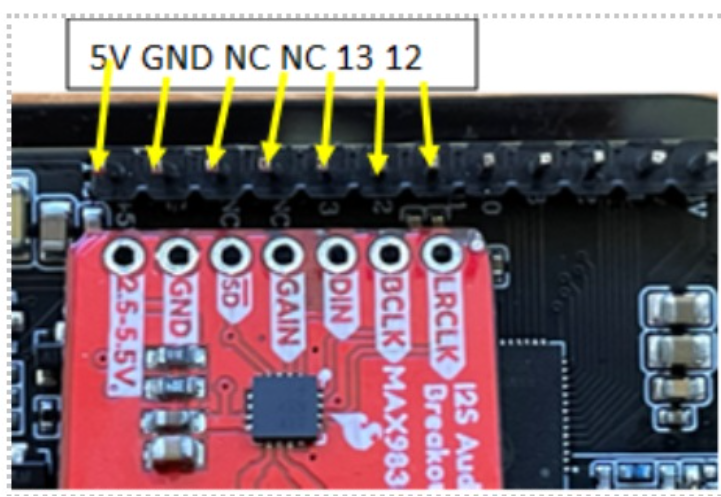
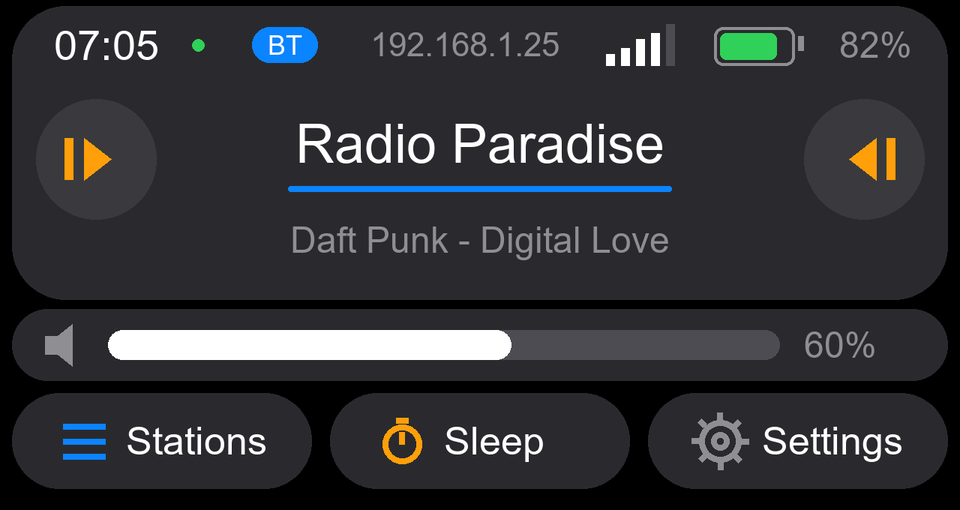
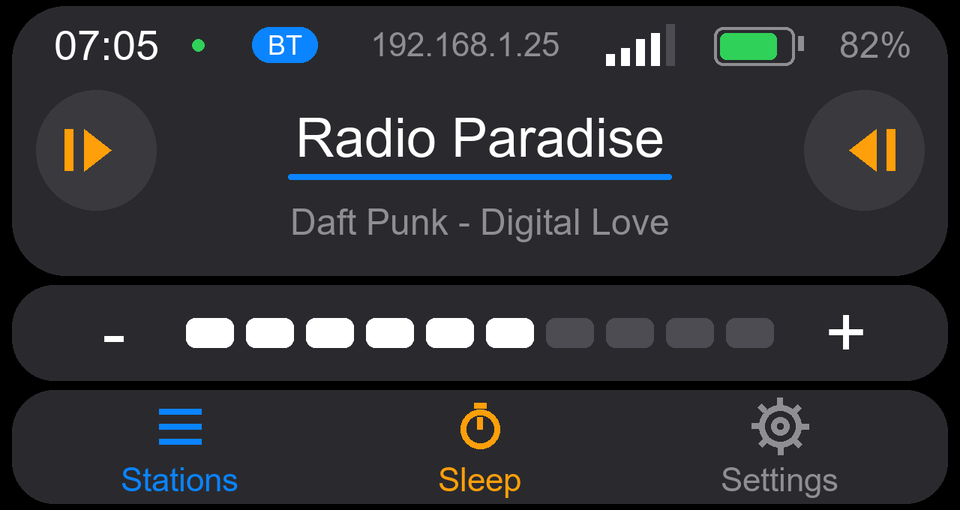
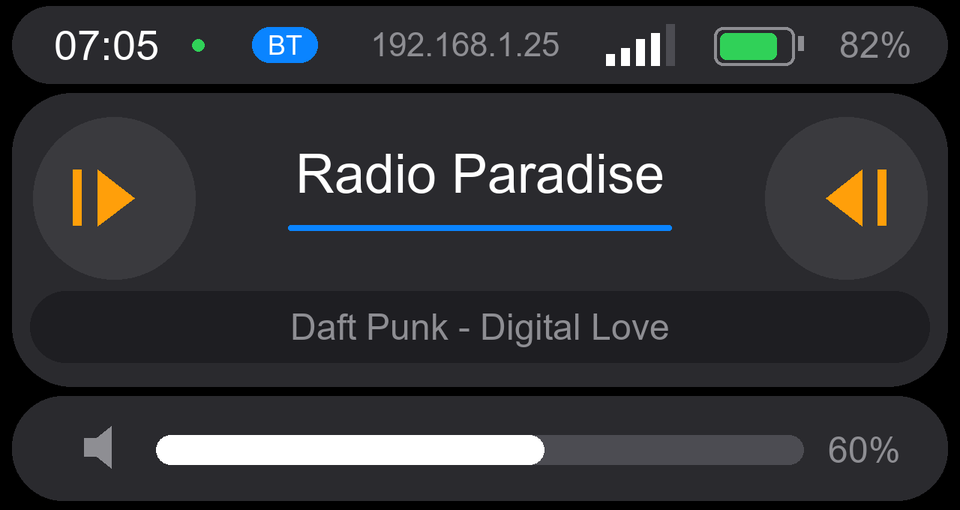
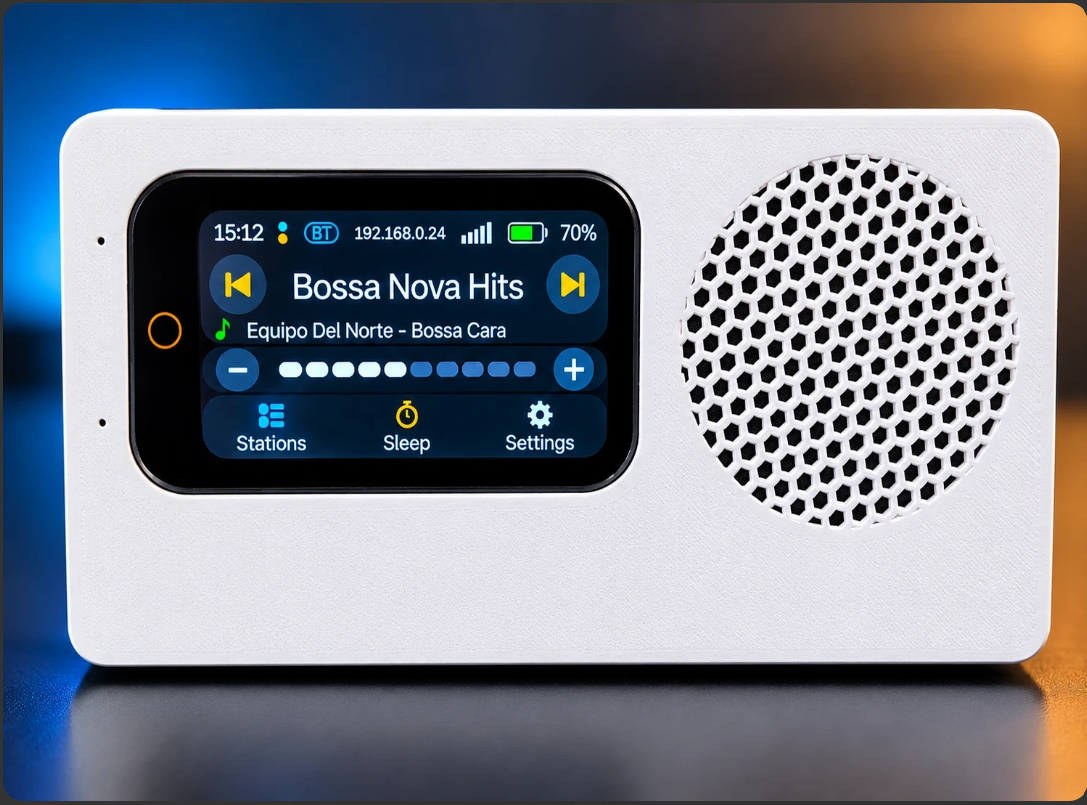
This is the firmware written for the LilyGO T-Display S3. It turns the board into a Wi-Fi internet radio with a touchscreen or a rotary knob, web control from any phone or computer, I2S audio output, and Bluetooth audio through the Bluetooth module. The radios on this page are built on it. A basic build needs just three small modules and two wires.
Features
Touchscreen control
Browse stations, control playback, and adjust volume directly from the radio.
Internet radio station search
Search for stations from around the world directly from the radio.
Up to 1000 favorite stations
Up to 1000 favourite stations can be saved and managed.
Web User Interface
The radio can be controlled from any phone, tablet or computer on the same Wi-Fi network.
I2S digital audio
Compatible with I2S DACs and digital amplifiers such as the MAX98357A and PCM5102A.
2.4 GHz Wi-Fi
It connects to a 2.4 GHz Wi-Fi network and streams internet radio.
Audio formats
MP3, AAC, and OGG/Vorbis, Flac.
Streaming quality
It plays streams up to 320 kbps.
Wide language support
English, Greek, Latin-based languages, Cyrillic, Hebrew, and Arabic.
DIY-friendly
A portable or stationary radio can be built with whatever hardware and components suit the project.
Bluetooth Audio
The firmware works with the Bluetooth + DAC + Amp module, so the radio can send sound to wireless headphones, earbuds or Bluetooth speakers.
Language Support for Station Names
The firmware supports station names in:
- English
- Greek
- Latin-based languages
- Cyrillic-based languages
- Hebrew
- Arabic
Hardware Options
The firmware makes it possible to design a radio around different hardware.
The DAC, amplifier, speaker, battery, enclosure and power system can be chosen to suit each project.
That could be a compact portable radio, a larger home radio, or a fully custom design.
Firmware Installation in 3 Simple Stages
Firmware installation is done through a dedicated Web User Interface Internet Radio installer.
Once installation is complete, restart the board and the radio is ready to use.
Demo Videos
Demo videos can be found on The MicroMaker YouTube channel: